The User Management section of the platform allows Admins to create and update accounts for their employees in Quantum Workplace.
In this article:
- Overview
- Requirements
- Access User Management
- Navigate the User's Page
- Add & Create Users
- Edit Users
- Reset an Employee's Passwords
- Actions for Multiple Users
- Bulk-Upload Users
- Import User Language Preferences
- Import Rules
- Access Manager (Legacy)
Overview
With User Management, admins can carry out a variety of administrative tasks as covered in this article.
All of the functions outlined in this guide can be performed by admin users of Quantum Workplace via the User Management page in Administration.
If you have an HRIS integration established with Quantum Workplace, any changes that you make in User Management will get overwritten with the next instance of the integration.
Requirements
- Available to admin users
Access User Management
To access the User Management page:
- Click and expand Administration in the left-hand navigation menu
- Click Users
Navigate the User's Page
On the user's page, view and edit information specific to the user.
Refer to this section to understand what each section of the page includes and allows:
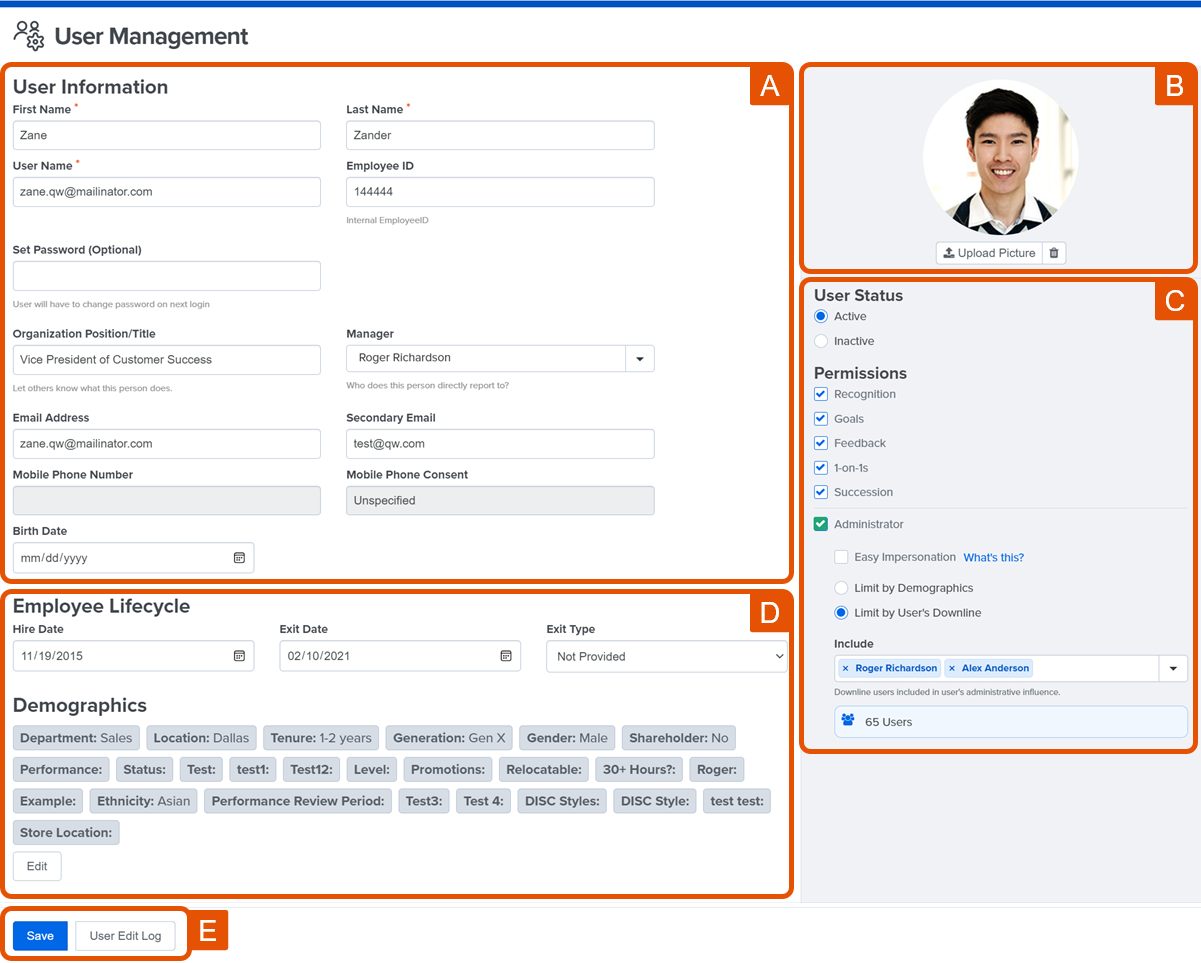
- A. User Information: The user's personal, contact, and account information, as well as their role and manager within the organization
- Fields with an asterisk are required when creating or updating a user's information
- B. Profile Picture: Manage the picture used for the user throughout the platform
- C. User Status & Permissions:
- User Status: Indicates whether the user is Active or Inactive on the platform
- Permissions: Indicates what features the user has access to
- Administrator: Indicates if the user is an administrator- admins can be configured as Focused Admins via Limit by Demographics and Limit by User's Downline, learn more about Focused Admins
- D. Lifecycle & Demographics:
- Employee Lifecycle: The user's hire and exit date, and if specified, the Exit Type
- Demographics: The user's demographics, click Edit to update or add demographics
- E. Save & Edit Log:
- Save: Click Save to finalize any edits
- User Edit Log: Captures changes to the user's profile along with the date and the user who made the changes
Add & Create New Users
To add or create a new user in the platform:
- From the User Management page, click + New User
- Complete the User Information, Lifecycle, and Demographic fields for the user
- Fields with an asterisk (*) are required to create the new user
- In the right column, ensure the User Status is Active
- In the right column, verify the user has permission to the desired Quantum Workplace features
- In the right column, check the Administrator box to grant the user admin permissions
- Specify if the user should also have the Easy Impersonation feature
- Specify if the user should be an admin at the organization-level, or be limited by demographics or a user's downline as a Focused Admin
- Click Save
Welcome Emails for New Users
New users can set up their accounts in Quantum Workplace via the automated welcome email delivered by Quantum Workplace.
To manually send a welcome email to new users:
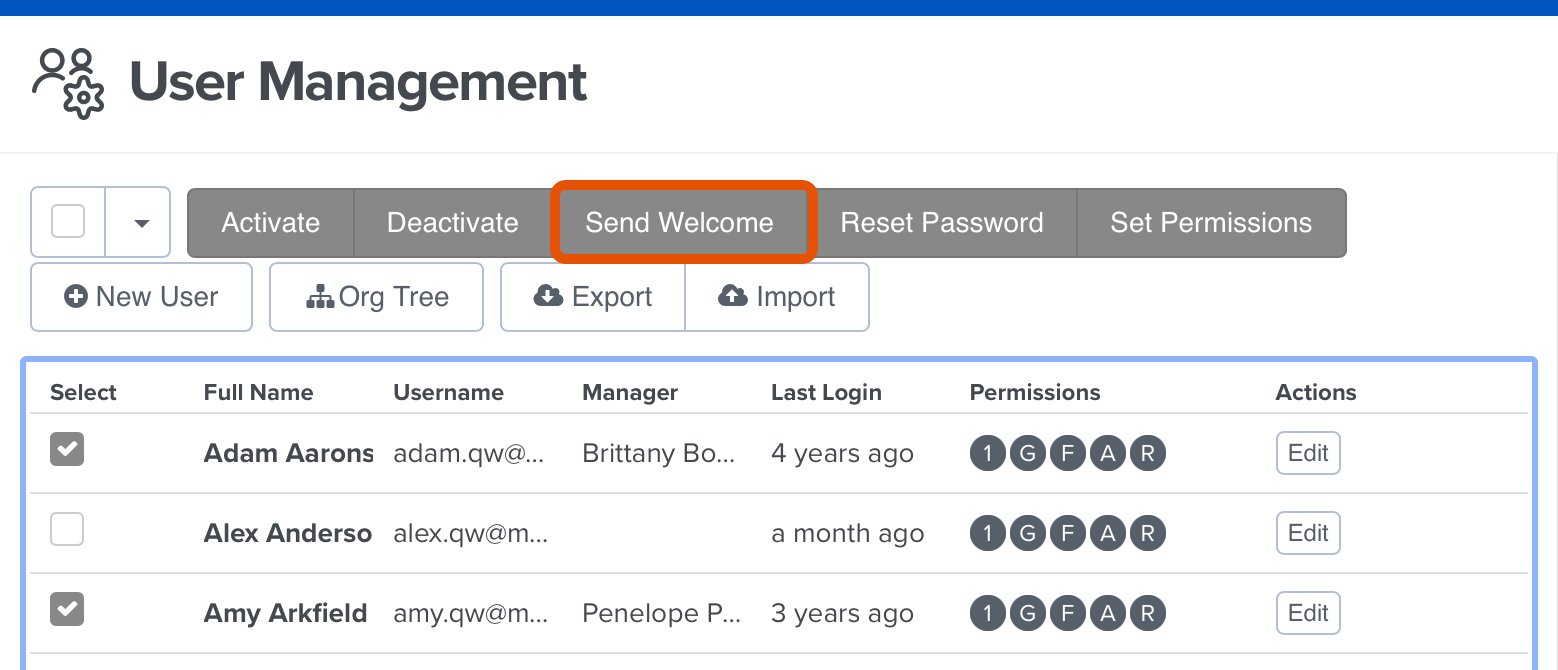
- From the User Management page, check the boxes for each user who should receive the welcome email
- From the additional menu that appears, click Send Welcome
- In the modal, click Confirm
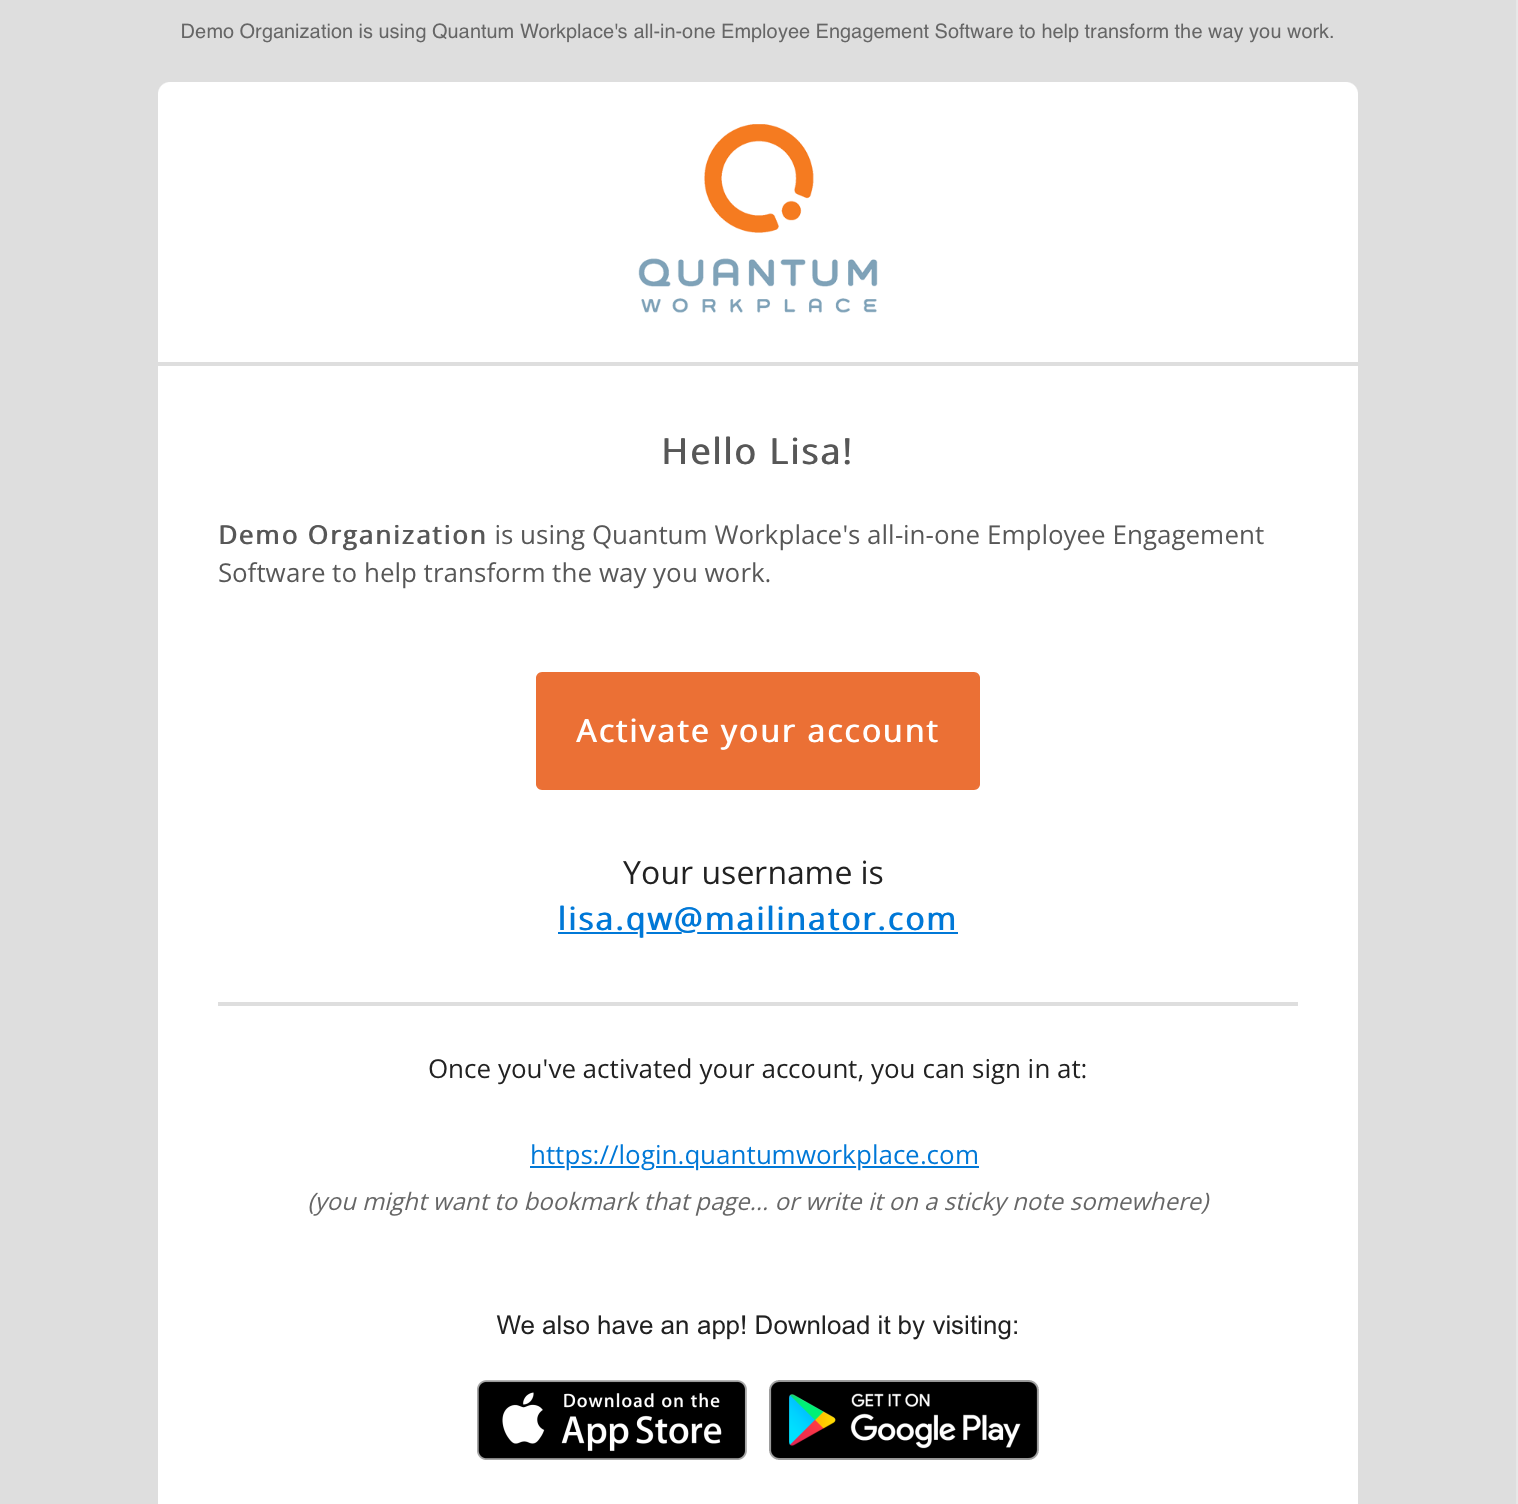
Selected users will receive the following email where they can complete their account setup:
Edit Users
From the User Management page, you can update user information, their permissions, and grant/remove admin or Focused Admin permissions. Learn more about Focused Admins.
To edit a user:
- Use the search and filter fields to find the user
- Identify the user and click Edit for the associated user
- This navigates you to the user's page where you can make the necessary edits
- Click Save to finalize your edits
Use the User Edit Log to view a log of changes affecting the user.
The log includes a date, a description of the edit, and the user who made the edit.
Focused Admins: If your organization has a team of HRBPs managing different regions, you can assign each HRBP, as a Focused Admin, administrative access to only the regions they support.
Reset an Employee's Password
To reset an employee's password:
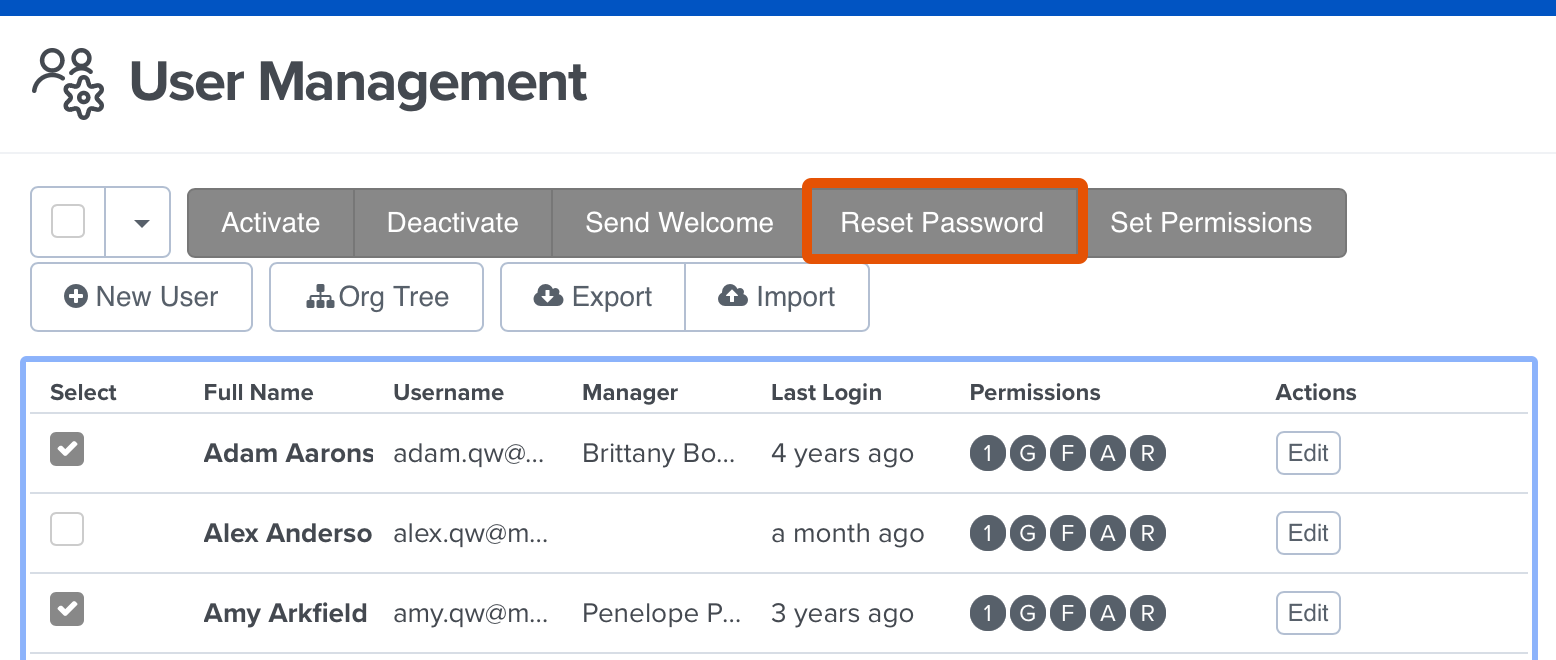
- From the User Management page, search for the employee(s) who need to reset their password
- Click the box for each employee
- From the additional menu that appears, click Reset Password
- In the Reset Password modal, click Confirm
The selected user(s) receive the following email where they can reset their password:
Actions for Multiple Users
You can update permissions for multiple users at one time within User Management.
First, search for the users using the Search function in User Management and check the box by their names to select them. If you need to perform an action for all employees, click Select All from the drop-down in the top left corner.
You can also use this drop-down to select all managers, all active users, all inactive users, or all users who have never logged in. 
Once you've selected the group of employees, you can perform the following actions:
- Deactivate or Activate the selected users
- Send a welcome email
- Send a password reset email
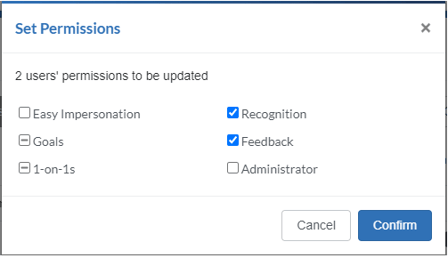
- Update the permissions that are enabled for these users. Click Set Permissions and select the box next to the feature that you would like to add or remove for this group of employees (e.g. Recognition, Goals, Feedback, or 1-on-1s). Click Confirm.
- An empty box indicates that none of the selected users will have that permission after the update.
- A check mark indicates that all selected users will have that permission after the update.
- A dash inside the box indicates that this permission will remain unchanged after the update (anyone who had the permission will keep it, and anyone without the permission will remain without).
Bulk-Upload Users
Import, create, or update multiple employees at once by importing a .CSV file rather than creating new users, one at a time. Using a .CSV file simplifies the import and demographic mapping process.
Click for a more detailed guide on uploading, creating, and editing users in bulk.
Import User Language Preferences
Administrators can specify employees' language settings before they ever log into Quantum Workplace by importing their preferred languages. This allows you to set your employees’ preferred language for a seamless experience from their first moment of using Quantum Workplace.
If for any reason an employee would like to change their preferred language, they can update it at any time from their Account Settings and override the language that was set for them through the HRIS integration or the user import.
When importing the languages manually, simply select User Default Language from the mapping options during the Demographic Mapping step.
Platform-Wide Language Codes
Quantum Workplace provides platform-wide language support for the following languages.
Use the Language Codes listed in the following table when importing users' preferred language.
Survey-Only Language Codes
The following languages are available only when completing your organization's surveys, and are not applied to the rest of the Quantum Workplace platform.
Elements of the survey-taking experience, i.e. help text, button text, ME Reports, etc. are included and will be translated.
Learn more about adding language translations to a survey.
Use the Language Codes listed in the following table when importing users' preferred language.
Import Rules
When you import a file, the importer will look for any new users as well as any updates to existing users. Users who are not included in the file will not be updated or deactivated.
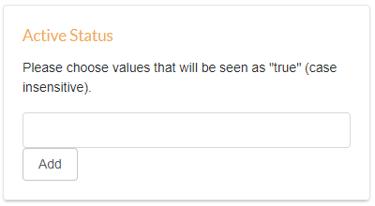
In order to deactivate a user, you must include them in the file and update their "Active Status" to "inactive" or whatever the equivalent value for "inactive" is within your account. You can then indicate within the import which value(s) from your Active Status column should be considered as Active Users.
New users must include Username, First Name, and Last Name. If your file contains users missing any of these values, those users will not be created.
If you are updating information for existing users, your file must contain either Username or Employee ID (or both) in addition to the columns that include the new demographic values that you intend to update for each user. We recommend that you do not include any demographics in the file besides Username, Employee ID, and the demographic values that you are updating. The importer will not update your employees' information unless your file includes either Username or Employee ID.
Before you import your file, please review it to make sure there are no duplicate usernames or employee IDs.
Is managing your users manually a daunting task? Consider establishing an HRIS integration. We can establish a daily file feed from your HRIS system to Quantum Workplace to automatically update your employee information.
Access Manager (Legacy)
In this section:
- Video Overview
- View User Access
- Add Users to a Branch
- Filter Access to Specific Branches of the Organization
- How to Remove Access
Video Overview
Watch this 2-minute video for an overview of the Access Manager tool.
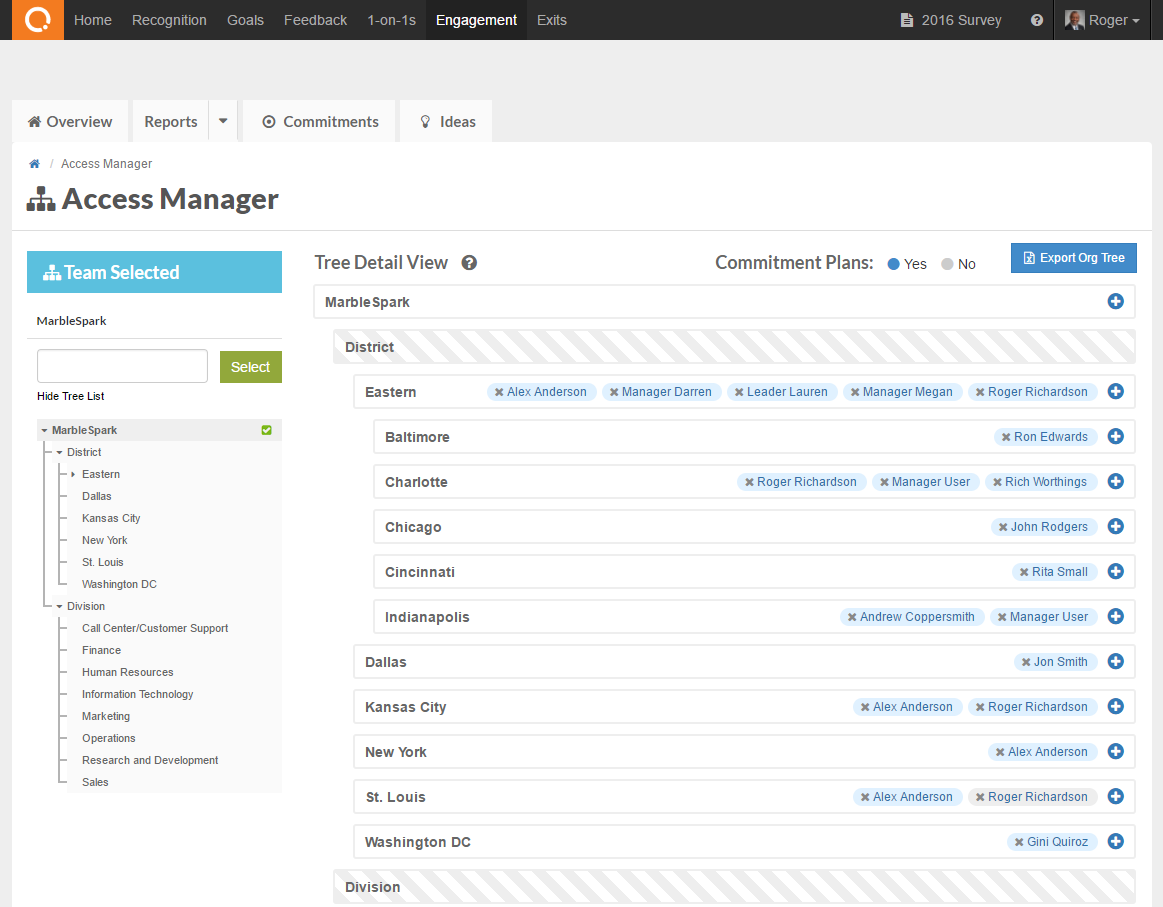
View User Access
Administrators can access the user management tool from their census Analytics page by selecting the Team Select button, then Access manager.
Access Manager allows you to do the following:
- Review the Organization Structure.
- View / edit the users assigned to different branches.
- Export the Organization Structure to an Excel document.
- Focus on certain portions of the Organization Structure using the filter on the left.
- Set whether or not certain users can create Commitment Plans.
Add Users to a Branch
- Click the plus icon to add users to that branch.
- Enter their name in the search box, and select whether or not the user should be able to create Commitment Plans on that branch.
- Click Add.
Filter My View to Specific Branches of the Organization
For large trees, you can filter your view to make it easier to see details for a specific branch. Click the branch you would like to view in detail.
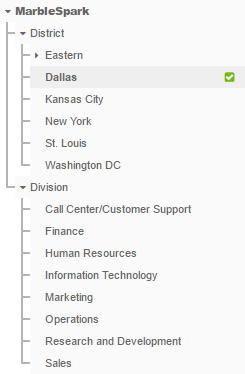
The selected branch then becomes the top branch in the Detail View.
How to Remove Access
To remove a user's access to a particular branch, click the X next to their name on the branch you would like to remove them from.
Removing a user from a single branch only removes that user's access to that branch in the organization. If you want to completely remove someone's access to Engagement Survey data, you must remove them from every branch they've been added to, if applicable.