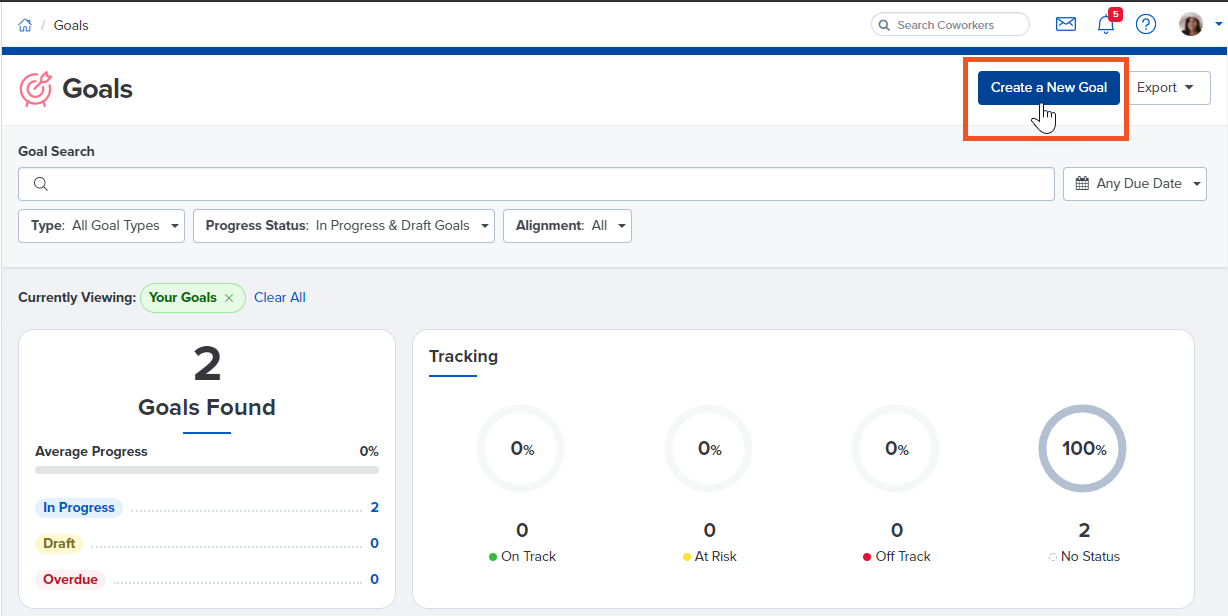
To begin creating a goal in Quantum Workplace, click the Create a New Goal button in the top right corner of your Goals page.
This will take you to the goal creation page:
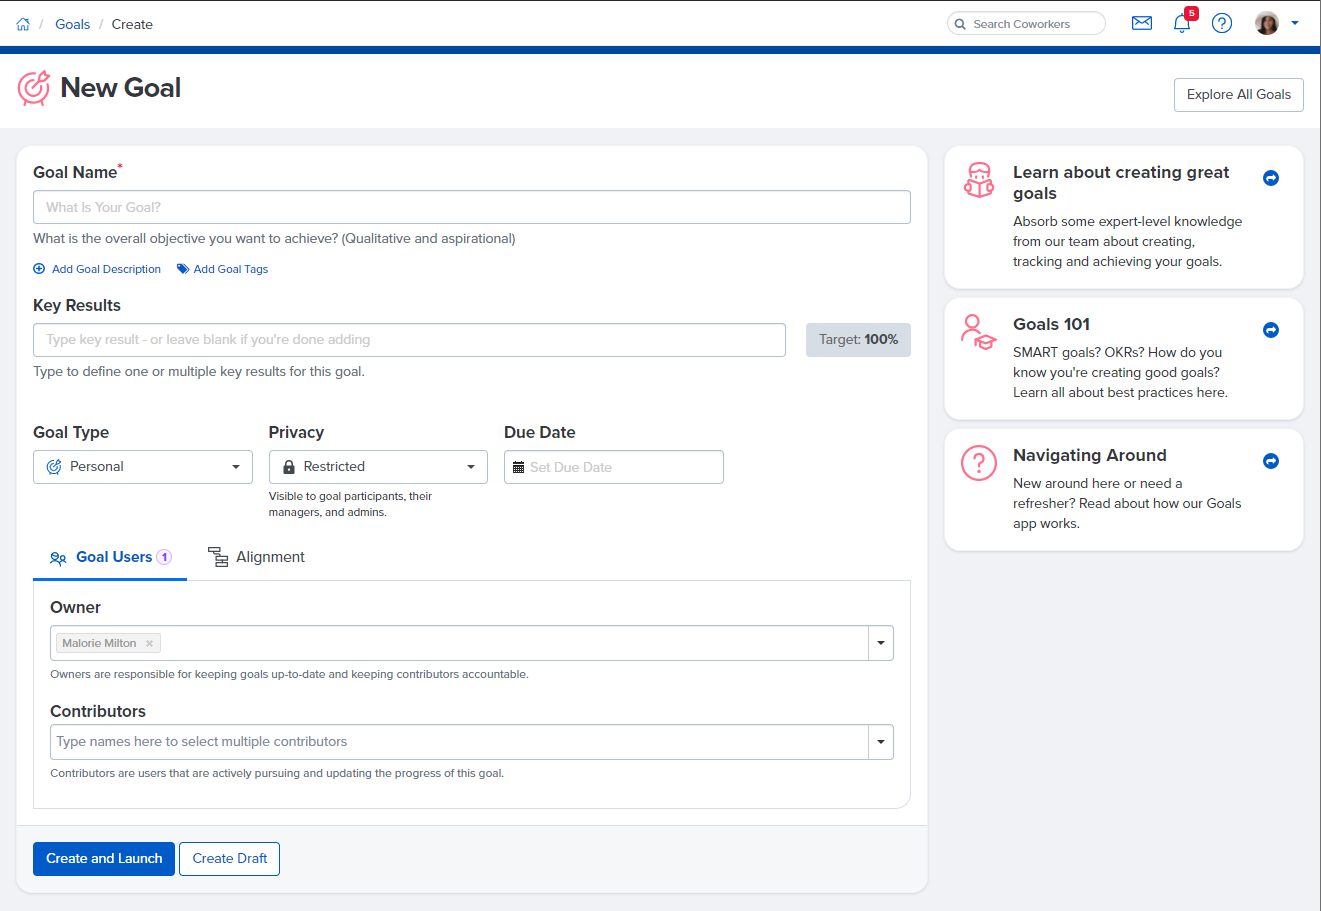
On the goal creation page, enter the following information about your goal:
Goal Name:
Below the Goal Name field, enter in a title that describes what you want to achieve. Once you have created your goal, you and your colleagues will be able to view this goal by searching for the goal name. 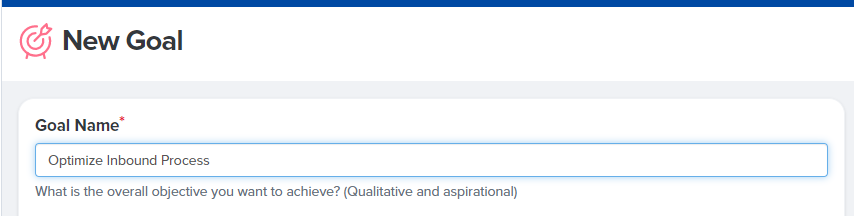
Key Results
In the Key Results section, you will enter a line of text to describe each separate Key Result associated with this goal. You can think of Key Results as the specific steps or actions that you will take to accomplish the goal. Each key result, or step, within your goal should be listed on its own line. 
To the right of each Key Result, click Target: 100% to choose the specific metric that you will use to track your progress on that particular key result. You can choose to track your Key Results as a number, as a percentage, a dollar amount, or as "Complete/ Incomplete" if you prefer to denote when the Key Result has been completed. 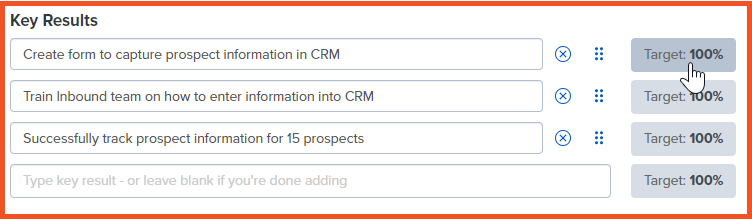
In addition to choosing the metric you'll use to track your progress on each key result, you will need to specify a "start value" and "target value" for your key result if you are using any metric other than the Complete/Incomplete option. Most of the time, the start value for your key result should be set to 0. The Target Value should be your "goal" value for that key result.
Goal Type
Below the Goal Type menu, you will select what type of goal this is, as it relates to you.
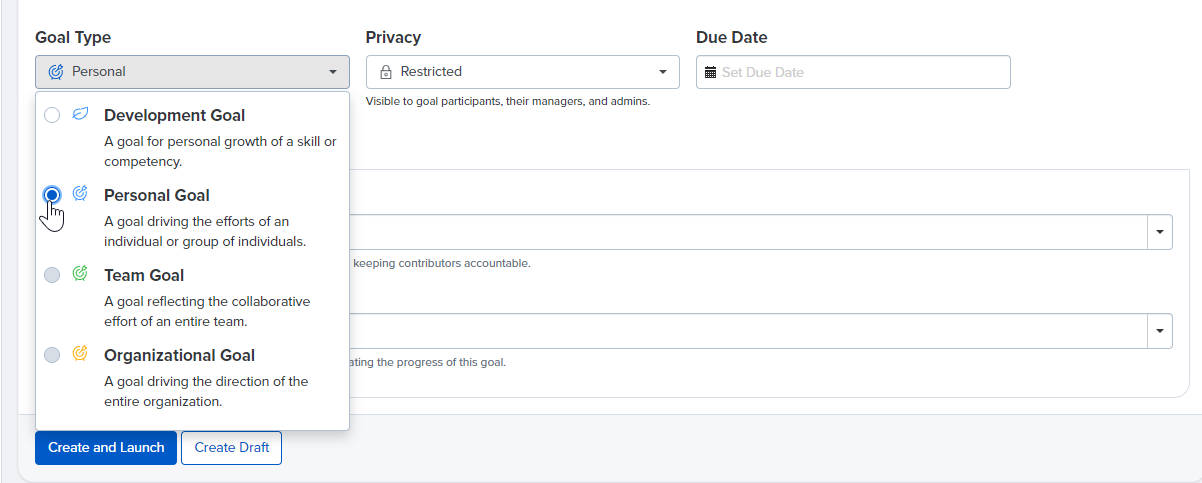
The default goal type is a Personal Goal, or a goal for an individual that is tied to your position or your day to day job responsibilities. You can also create Development Goals for goals that are intended to grow your professional skillset but fall outside of your job responsibilities. If you're a manager (e.g. if you have one or more direct reports listed in Quantum Workplace), you will have the option to create Team Goals. If you are not a manager, the Team Goal option will be grayed out for you. Only Admins have the option to create Organizational Goals.
Privacy
On the Privacy tab, you will specify whether your goal should be Public or Private. Public goals are visible to everyone in your organization, while private goals are only visible to your upline managers, additional colleagues that you add to the goal as contributors or followers, and your organization's Admin users. Your HR team decides the default privacy setting.
Due Date:
You can enter a due date for your goal into the Due Date field. Simply click into the due date field and either type in your due date or use the calendar selector to choose the due date for your goal. You can leave this field blank if you do not want to specify a due date for this goal. 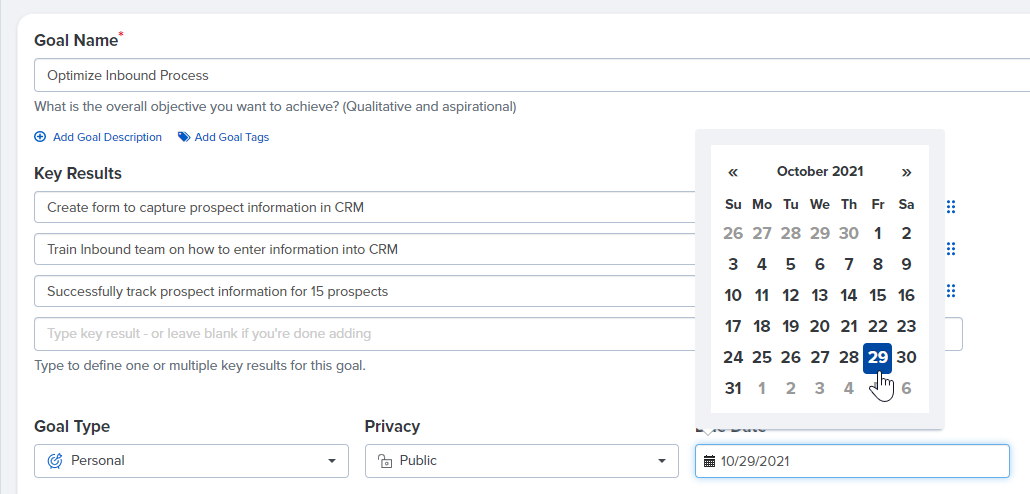

Goals Users
Below the Goal Users heading, you will confirm who the Owner of the goal should be and add any coworkers who should have the ability to update the goal as Contributors.
The Goal Owner has the ability to edit all details about the goal and update the progress on the goal at any time. You will be added to any goal that you create as Owner by default, but if you are creating the goal on behalf of someone else you can click the x by your name to remove yourself as the goal owner and type your colleague's name below the Owner field. Contributors can update the goal and will receive email notifications when the goal is created and closed, but do not have the ability to edit the goal.
To add a colleague as a contributor, type their name into the field below Contributors and click on their name to add them. Adding contributors to your goal is optional, and you can add as many contributors as you like.
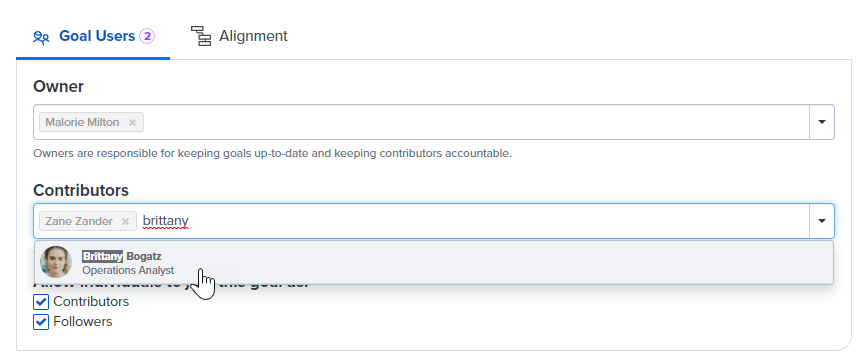
When you create a public goal, you have the option to prevent other users from joining the goal as a contributor or follower. Uncheck the box next to these options if you do not want colleagues throughout the organization to be able to add themselves to your goal as contributors or followers. For restricted goals, your colleagues will never be able to add themselves to your goal as contributors or followers (only you and your upline would be able to add other people as contributors or followers). 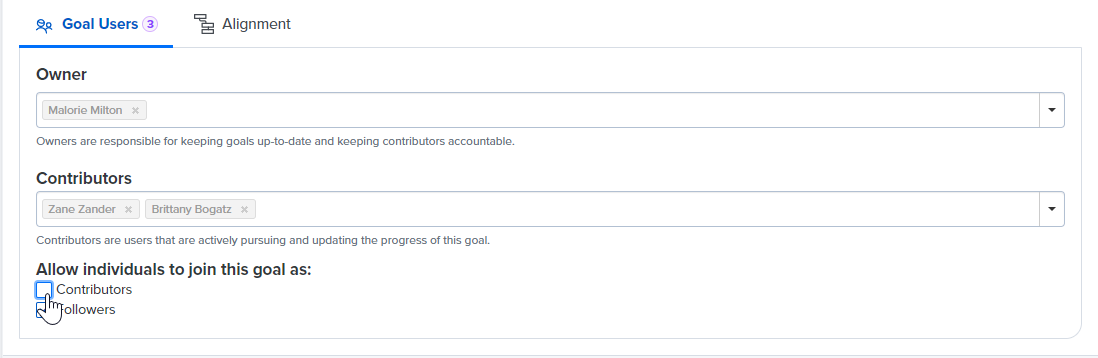
For Team Goals: On the Goal Users tab, you will specify who should have access to this team goal by adding team members to the goal.
You can add team members in two ways:
1. From the Demographics tab, you can type in a department, division, or other group to add everyone included in that group as a team member.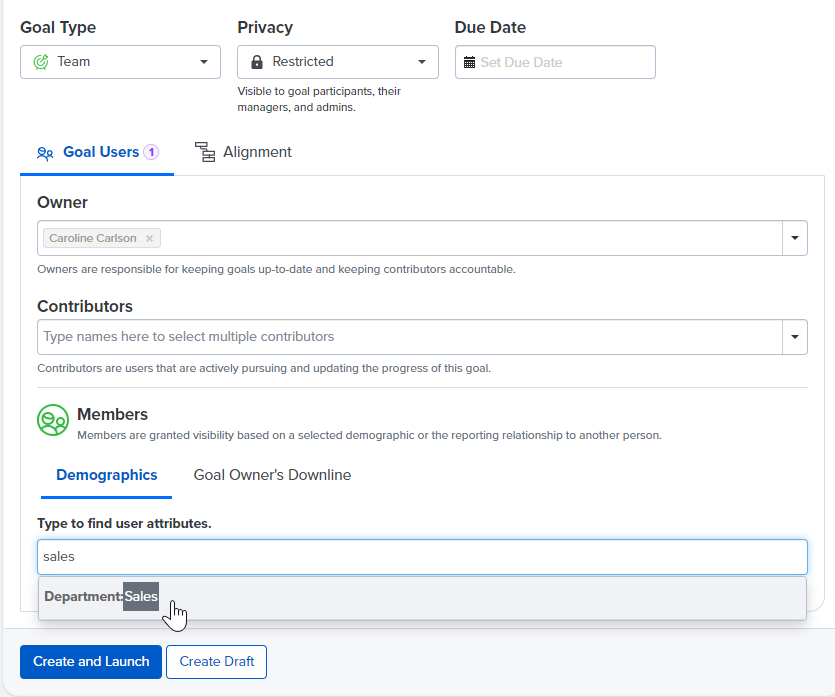
2. Alternatively, you can click the Goal Owner's Downline tab to add everyone in your full downline or only your direct reports as team members of the goal. 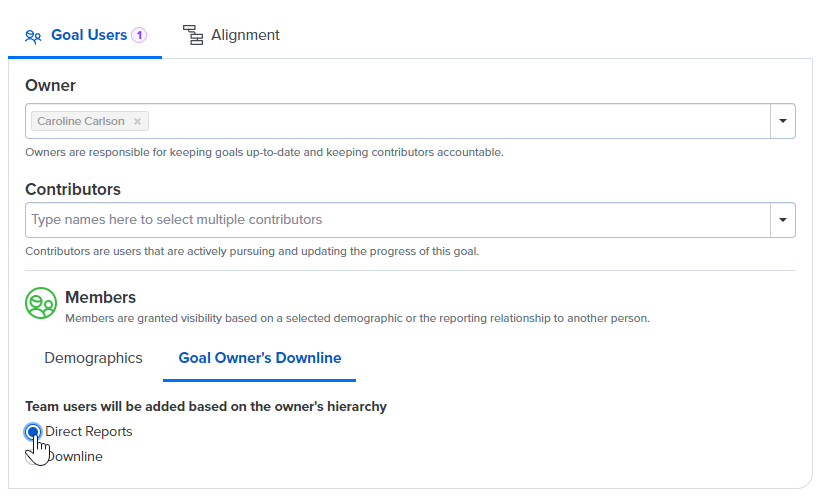
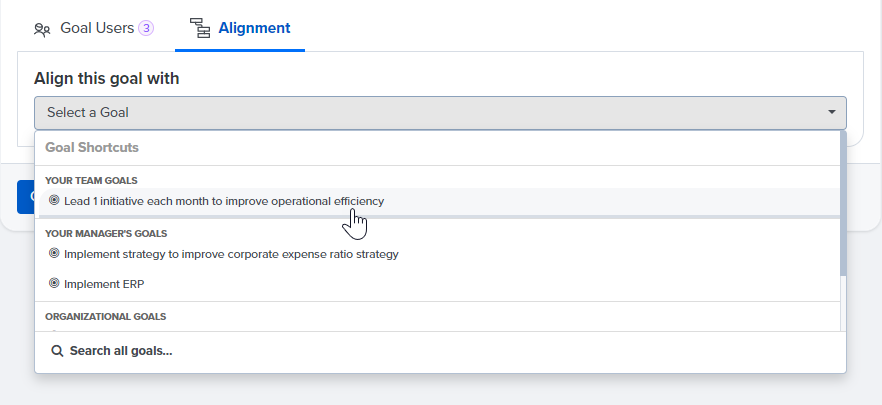
Alignment:
On the Alignment tab, you have the option to align your goal with another goal to visually signify that your goal supports the work of a broader goal. Typically, you would align a personal goal with a team or organizational goal to signify that your goal supports the work of that overarching goal. Aligning your goal visually indicates to other users that the goals are related, but updating your goal does not cause the progress on the goal its aligned to to be automatically updated or vice versa.
To align your goal to an existing goal, click into the Select a Goal drop down menu and select the goal you would like to align your goal to:
Create and Launch
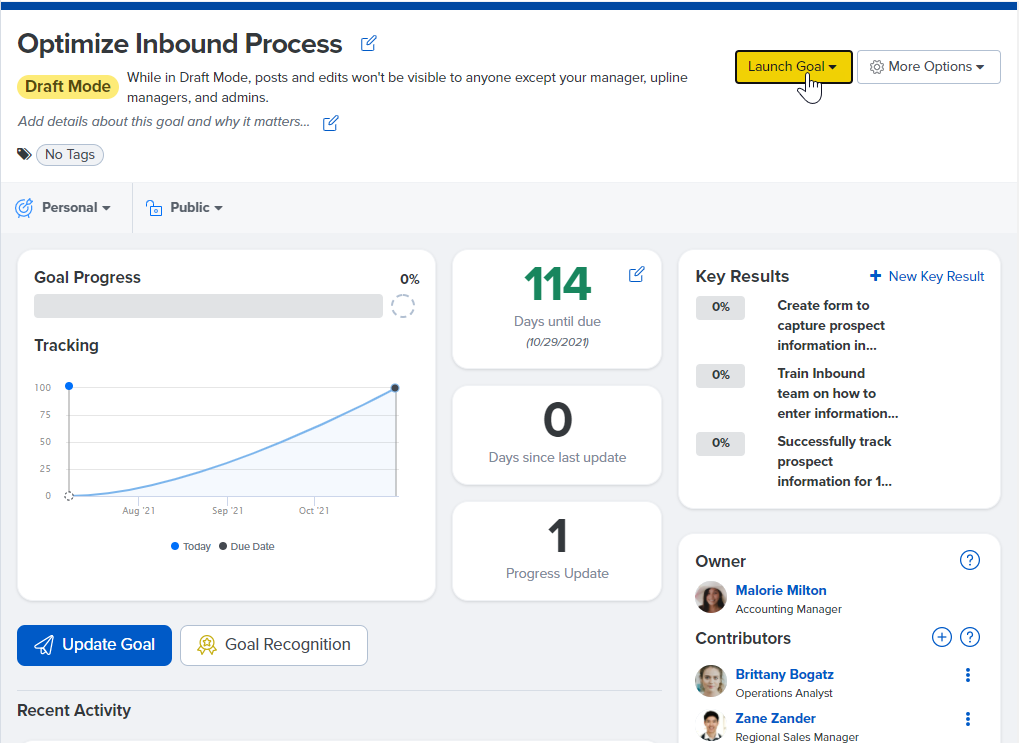
Once you've configured your goal, you have the option to either save your goal as a draft or publish it. When you're ready for your goal to be visible to others at your organization, click Create and Launch. Your new goal will not get posted to the Home Page, but you will have the option to post subsequent updates to the Home Page. 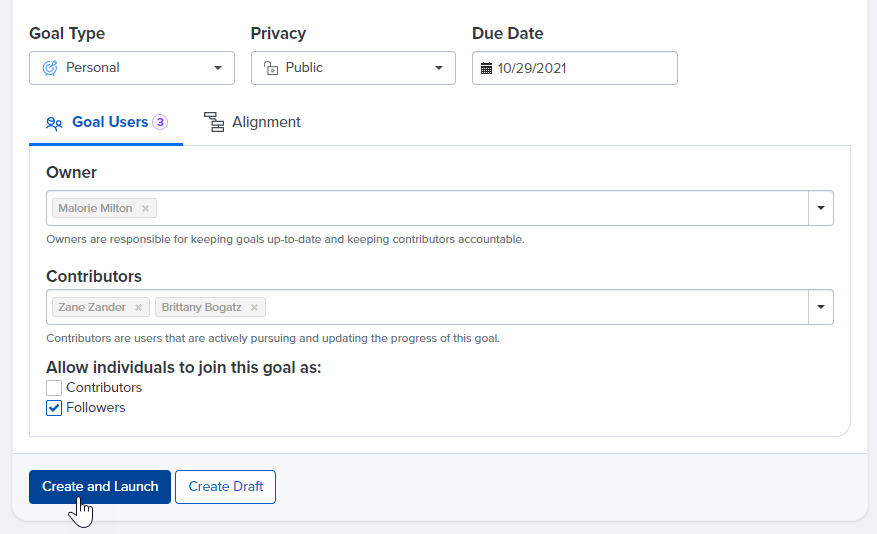
If you'd rather save your goal as a draft to return to later, click Create Draft. 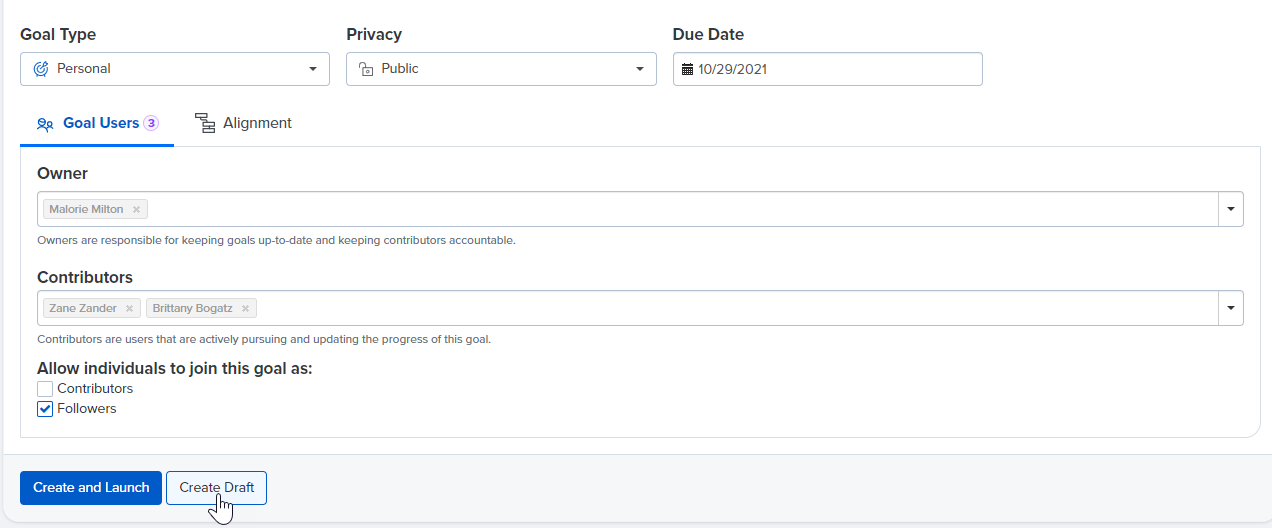
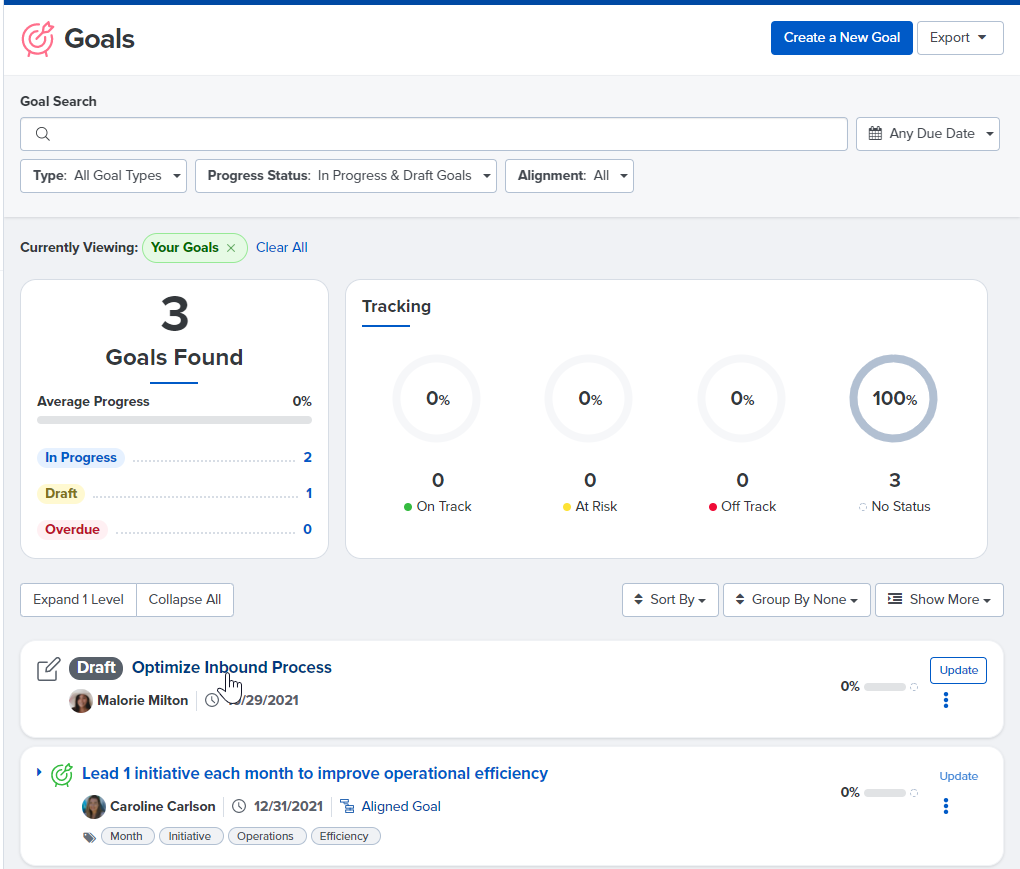
You can return to your Goals page at any time to select your draft goal and officially launch it.