Step 1: Add a Custom SAML App in Google Admin
-
Log in to the Google Admin console as an administrator.
-
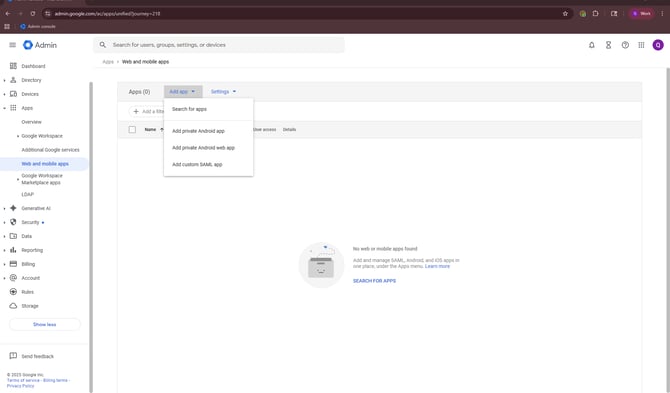
Navigate to Apps > Web and Mobile Apps.
Click Add App > Add custom SAML app.
Step 2: Configure App Details
-
Name: Quantum Workplace
-
Description: Quantum Workplace SAML
-
App Icon: Download the Quantum Workplace logo here and upload it.
Click Continue.
Note: When uploading the Quantum Workplace logo, some warping may appear in the logo preview, as displayed in the image below. This will resolve once setup is complete.

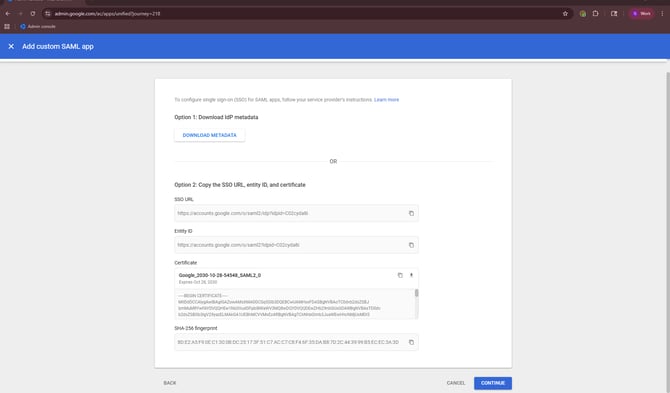
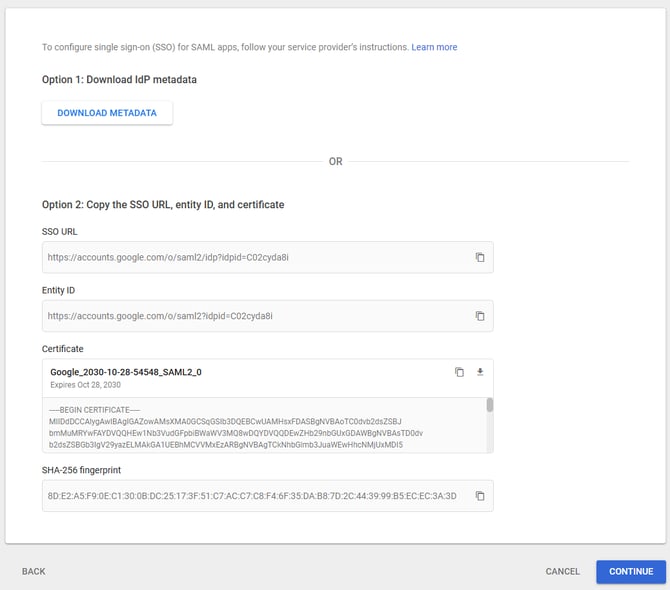
Step 3: Download IdP Metadata
-
On the Google Identity Provider details screen, click Download IdP metadata.
-
Click Continue.
Step 4: Enter Service Provider Details
Enter the following values exactly:
-
ACS URL:
https://auth.quantumworkplace.com/samlauth/assertionconsumerservice -
Entity ID:
https://auth.quantumworkplace.com -
Start URL:
Leave Blank -
Name ID Format:
Leave UNSPECIFIED -
Name ID:
Basic Information > Primary email
Click Continue.
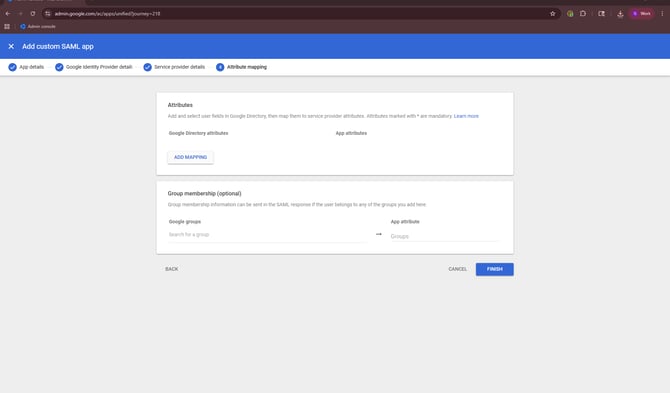
Step 5: Attribute Mapping
-
Attributes: Leave blank
-
Group membership: Leave blank
Click Finish.
Step 6: Enable User Access
-
On the app’s User Access screen in Google Admin, click the down arrow (▼).
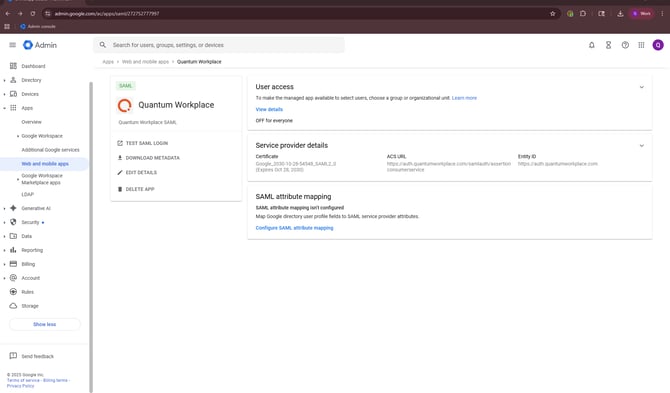
-
Under Service Status, choose ON for everyone.

-
Click Save.
Step 7: Enable SSO in Quantum Workplace
After completing the setup in Google Admin, follow these configuration steps within Quantum Workplace to complete the integration.