Required:
- An active Azure AD subscription
- A Quantum Workplace subscription
Adding Quantum Workplace from the gallery:
- Go to the Azure portal, then click Azure Active Directory in the left panel.

- Select Enterprise Applications then select All Applications.
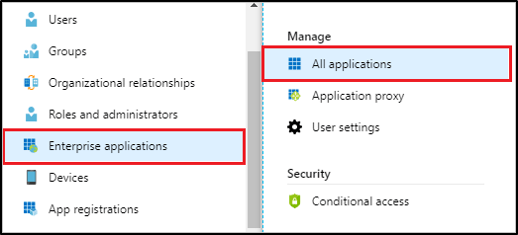
- Select New application to add a new application.

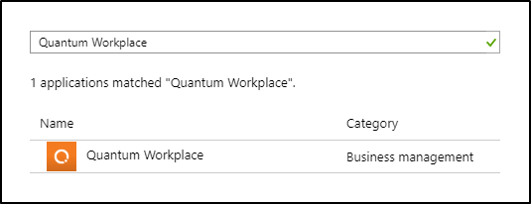
- Type Quantum Workplace into the search box, then select Quantum Workplace from the result panel.
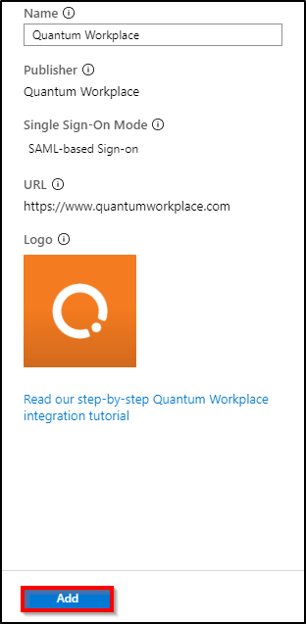
- Click the Add button to add the application.
Configure Azure AD single sign-on:
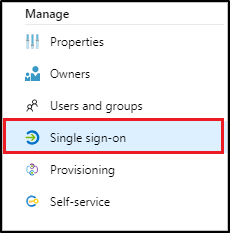
- From the Azure portal, select the Quantum Workplace application,then select Single sign-on.
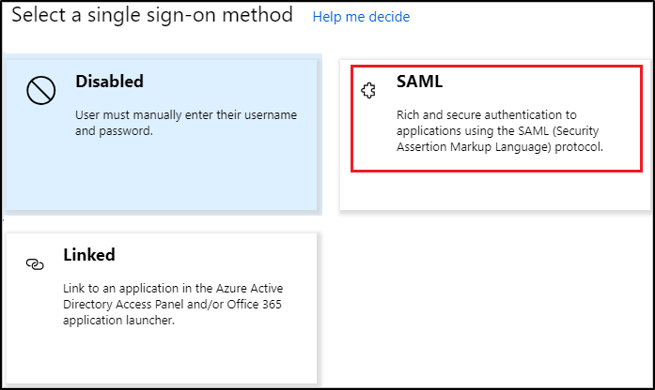
- Under Select a single sign-on method, select SAML.
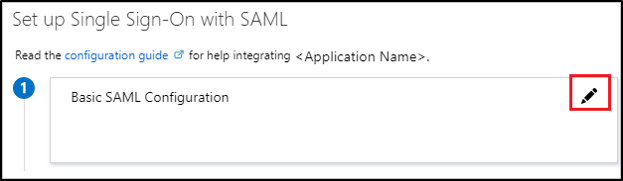
- Click on the Edit icon to open Basic SAML Configuration.
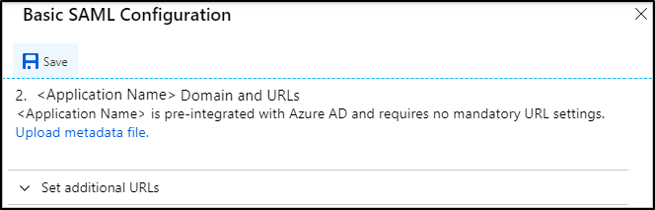
- On the Basic SAML Configuration page, URLs are already pre-populated. Save the configuration by clicking the Save button.
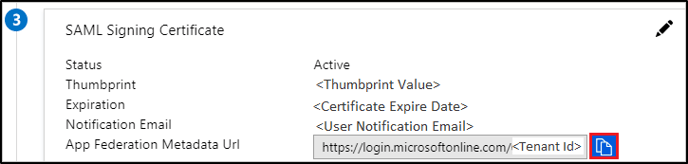
- Under the SAML Signing Certificate section, click the copy button to copy App Federation Metadata URL. You will need this along with your user attribute type found in the next section to complete your SSO setup.
Change User Attributes & Claims:
Quantum Workplace recommends using Employee ID for validation, although the default is email. You can change it using the following steps. This is not required.
- From the Azure portal, Select the Quantum Workplace application, then select Single sign-on.
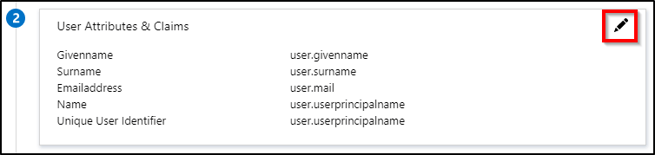
- Click the Edit icon on User Attributes & Claims
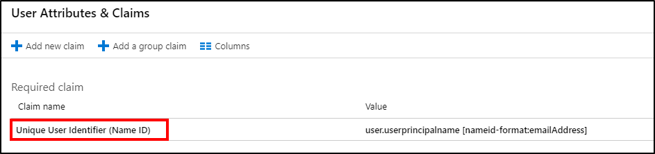
- Click on the claim
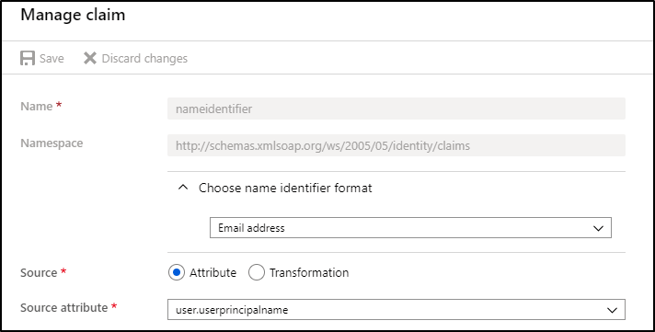
- Under Source attribute select the desired option, then click the Save icon.
Change Properties
- Exit out of the Manage claim and/or User Attributes and Claims screens by clicking the X in the top right corner of the page.
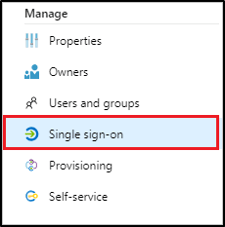
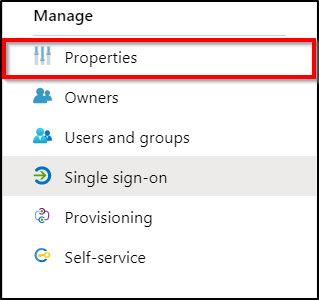
- Select Properties in the left menu bar.
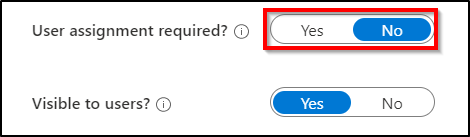
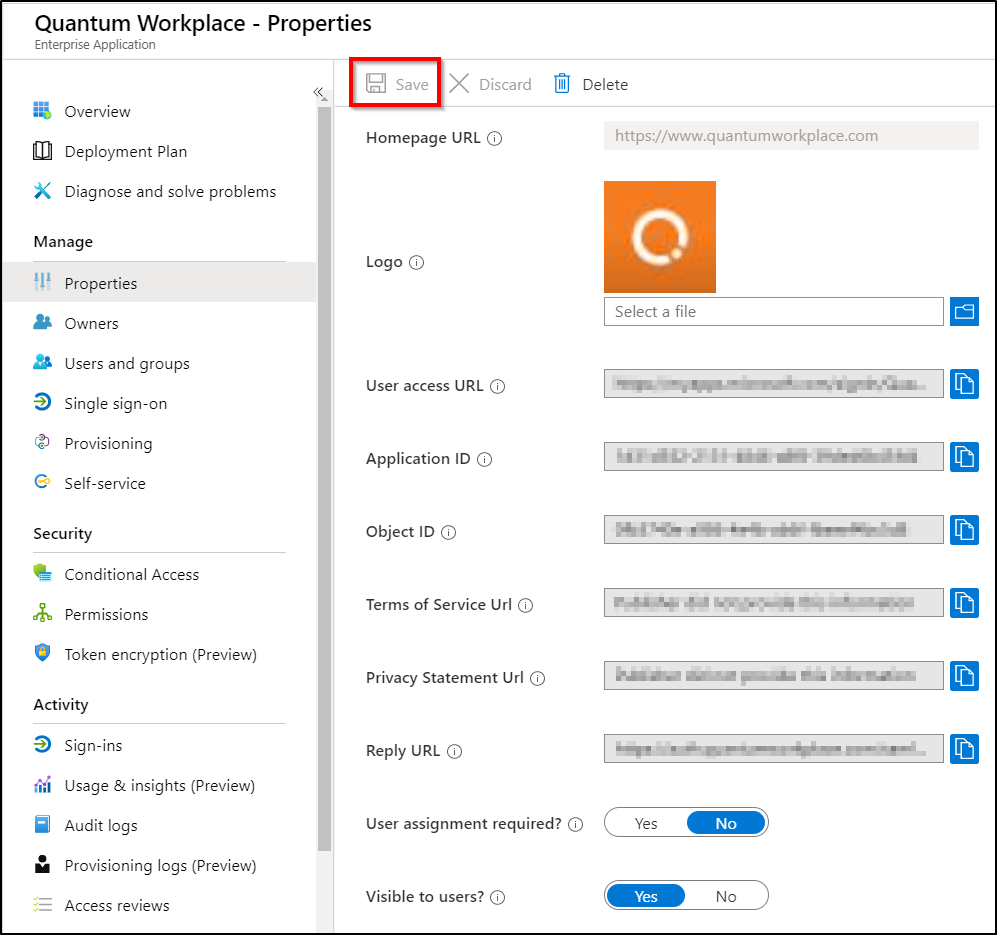
- Scroll down to User assignment required and change the setting to No.
- Lastly, click the Save icon in the top left corner.
Enable the Quantum Workplace configuration
Follow these steps to enable the configuration within Quantum Workplace.
For more information, see the Single Sign-On (SSO) Basics article.